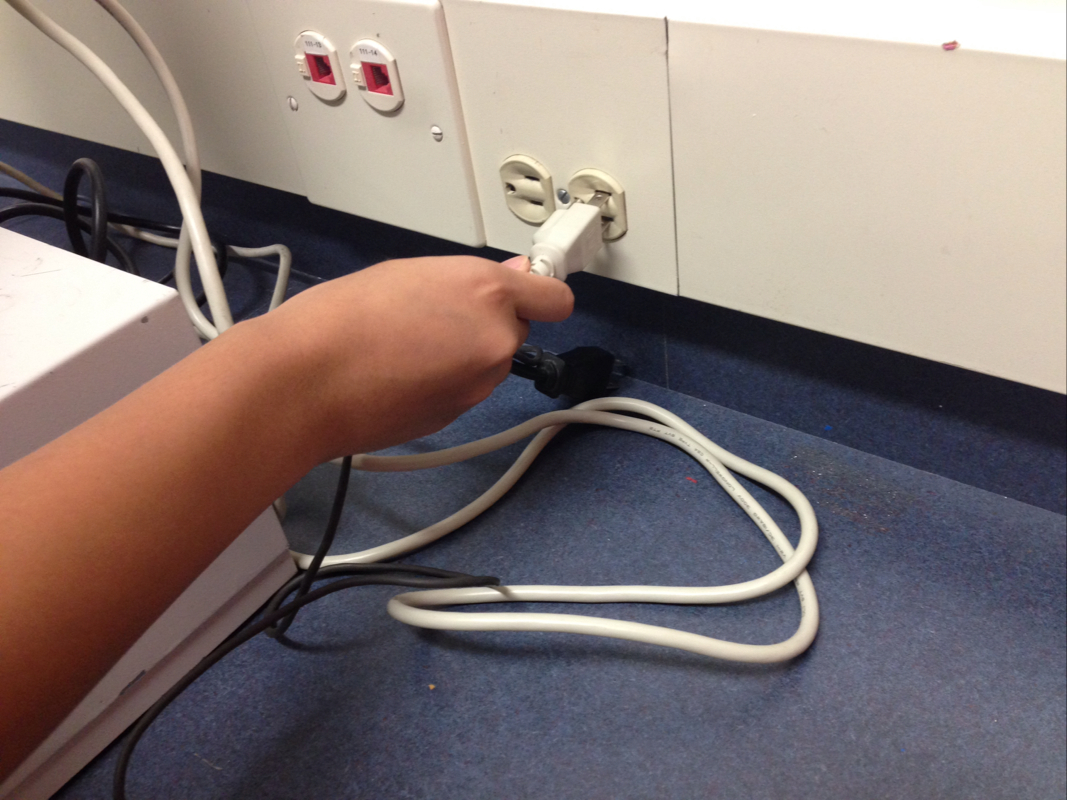
First, unplug the computer before doing anything else.
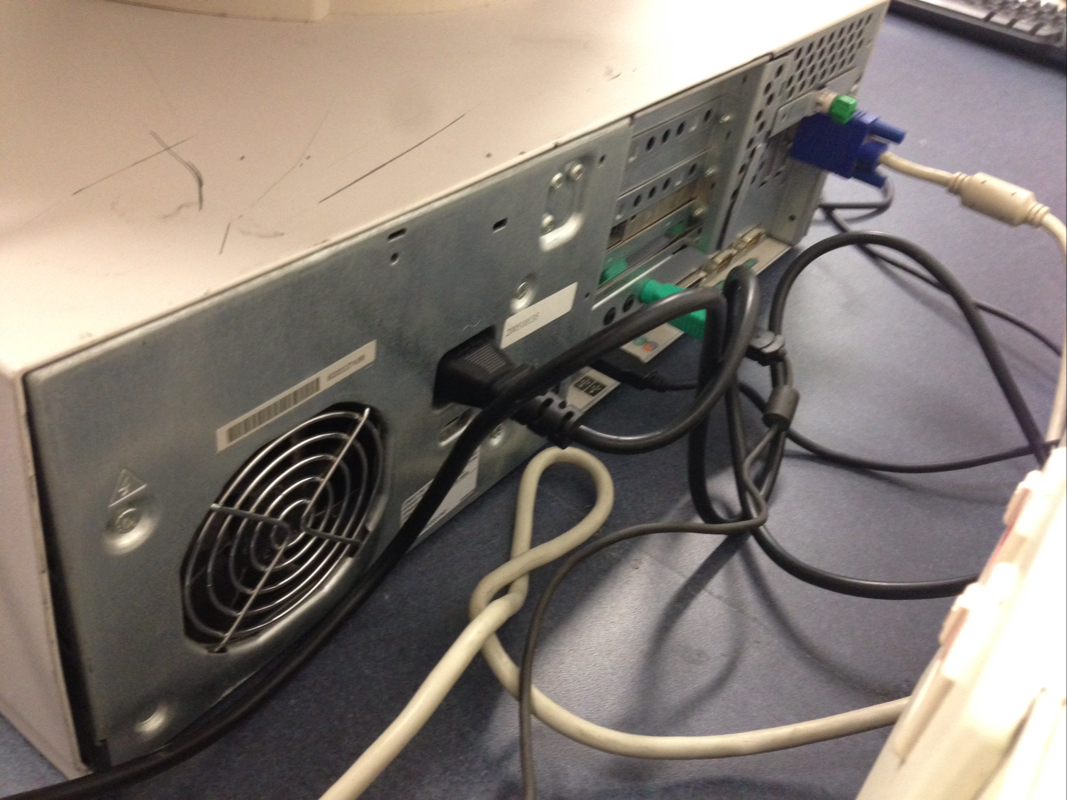
This is how the back of the CPU looks like
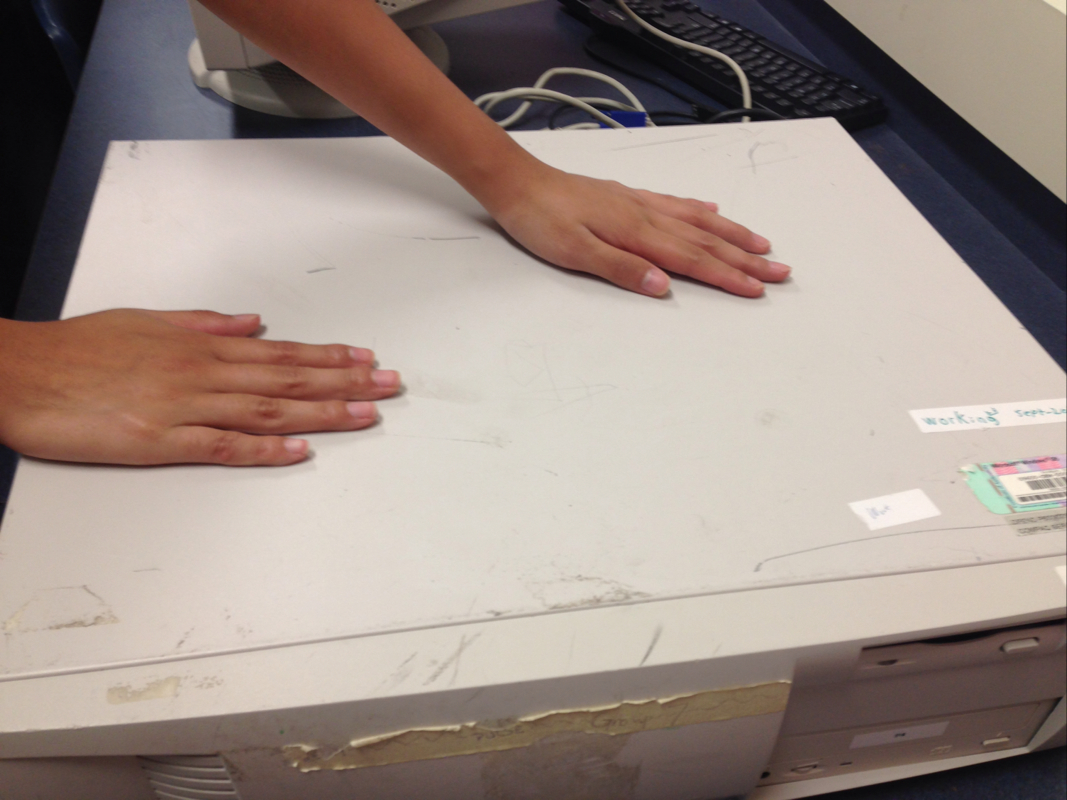
Now ground yourself before touching any other parts! You may electrocute yourself if you don't do this.
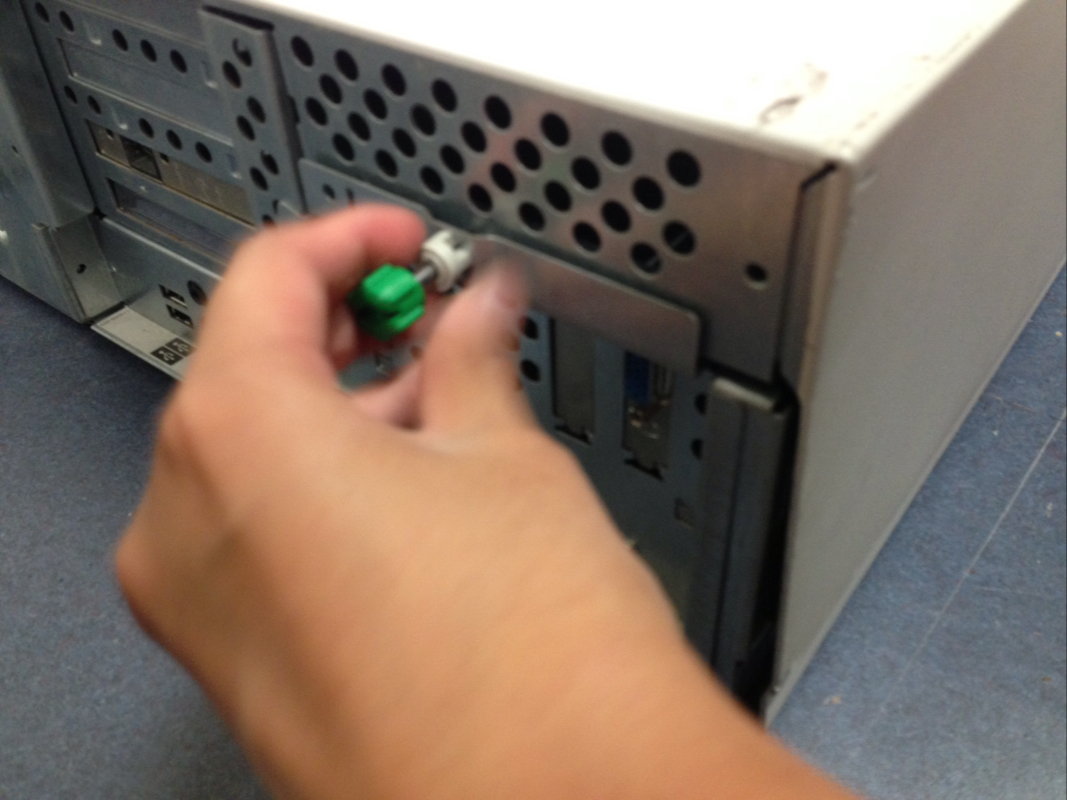
Unscrew the green tab from the back to release the CPU cover
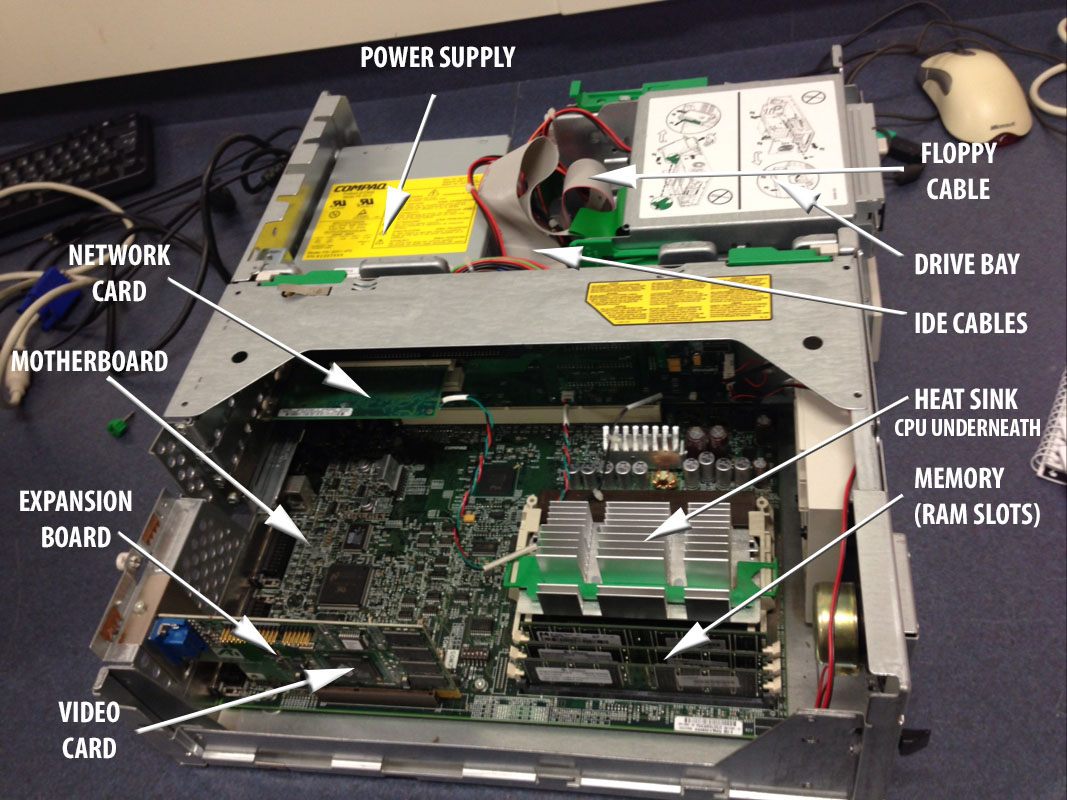
This is the inside of the computer, with components labelled.

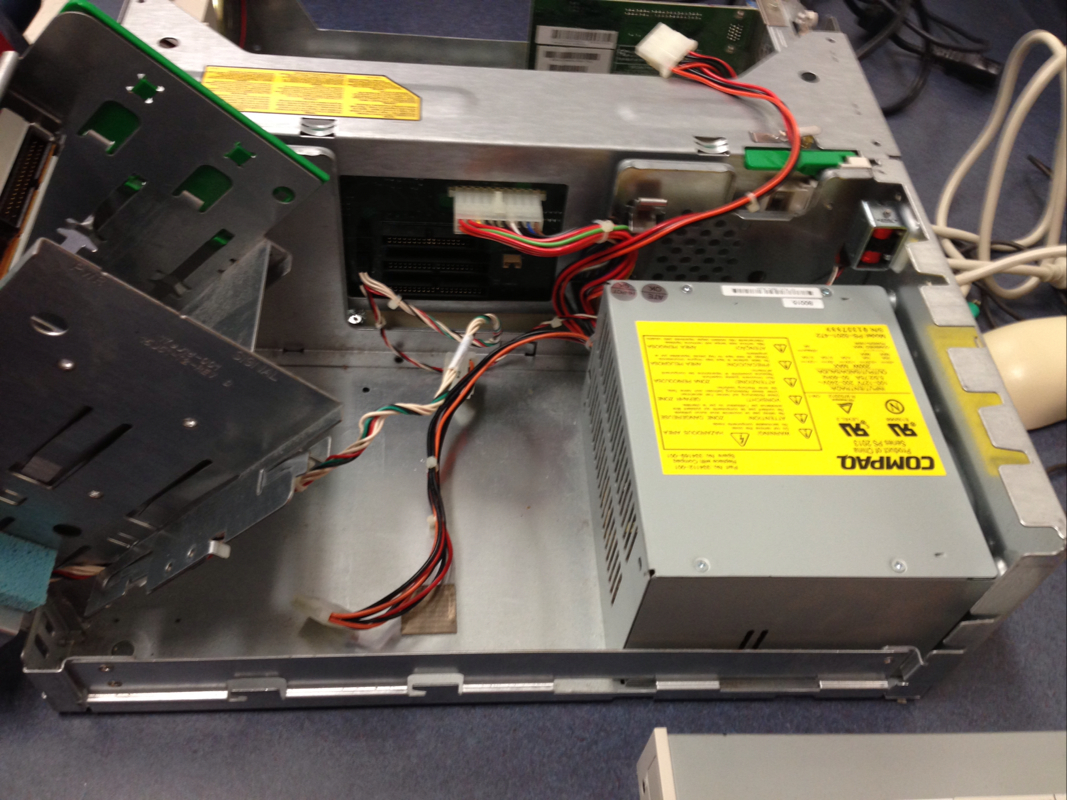
This is another view of the inside of a computer, with other components labelled.
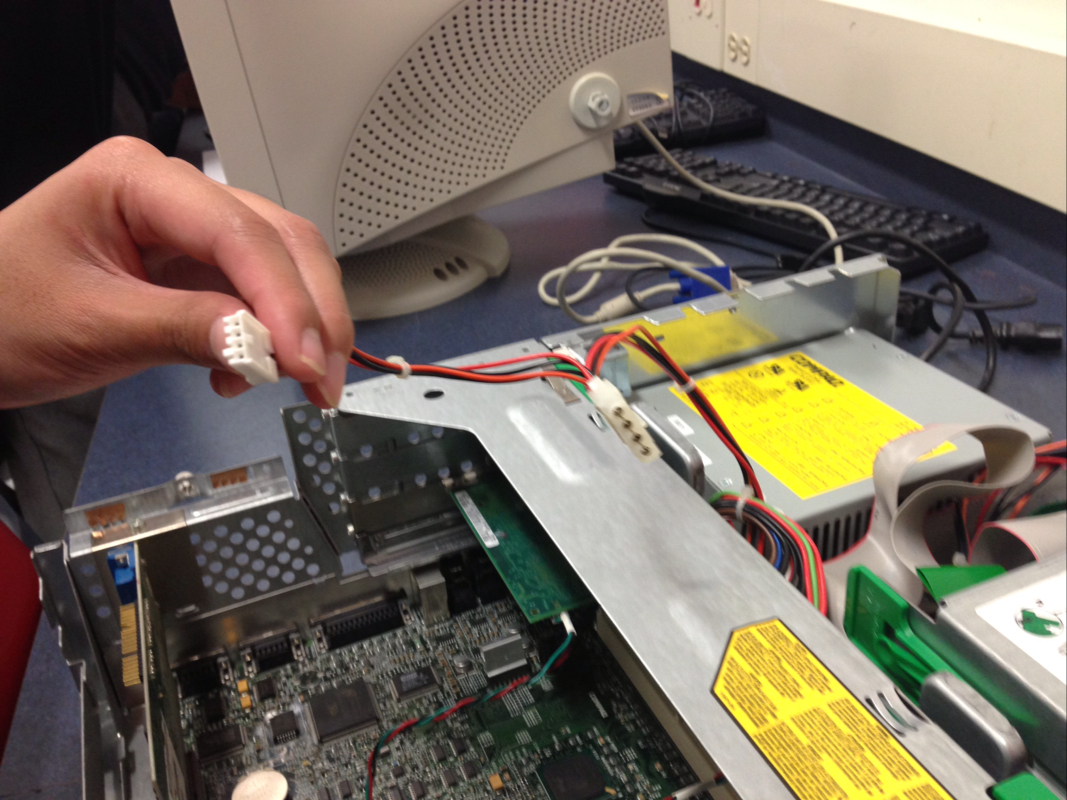
Now, pull out the power cable. Take note of which number it is. For this one, it was P6.
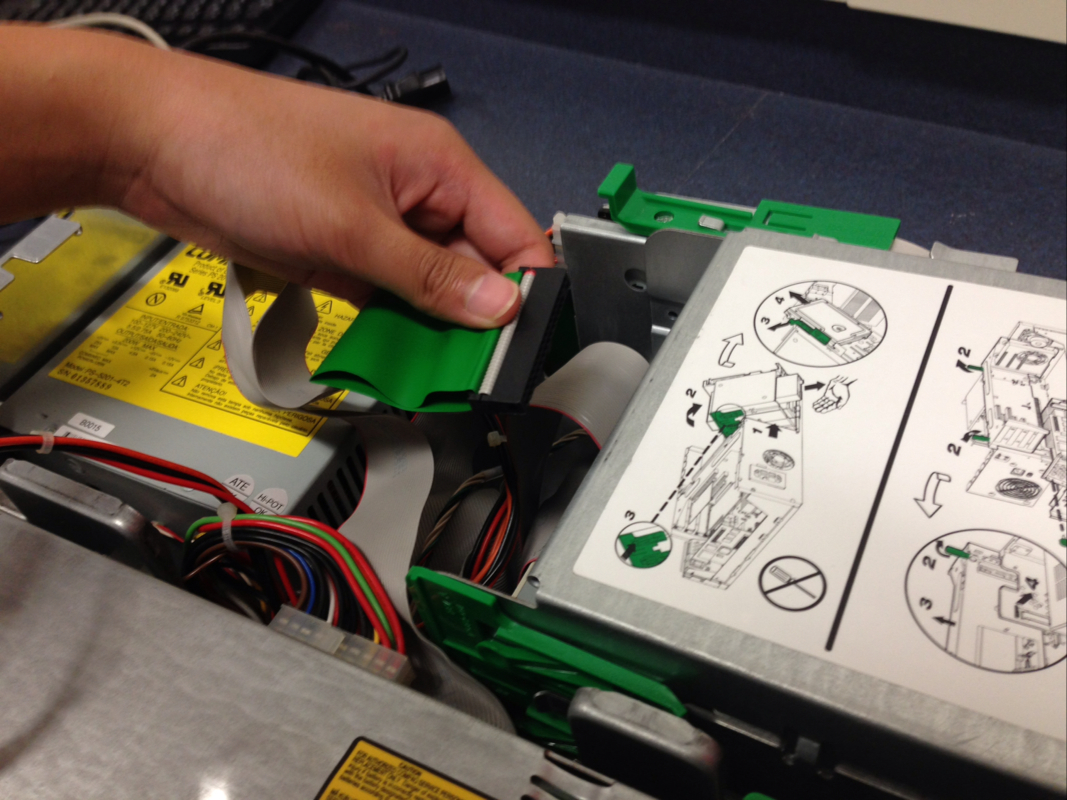
Unplug the floppy IDE cable.
Then, unplug the IDE for the CD-ROM.

Lift up the cartridge which holds the CD-ROM and floppy disk drives.
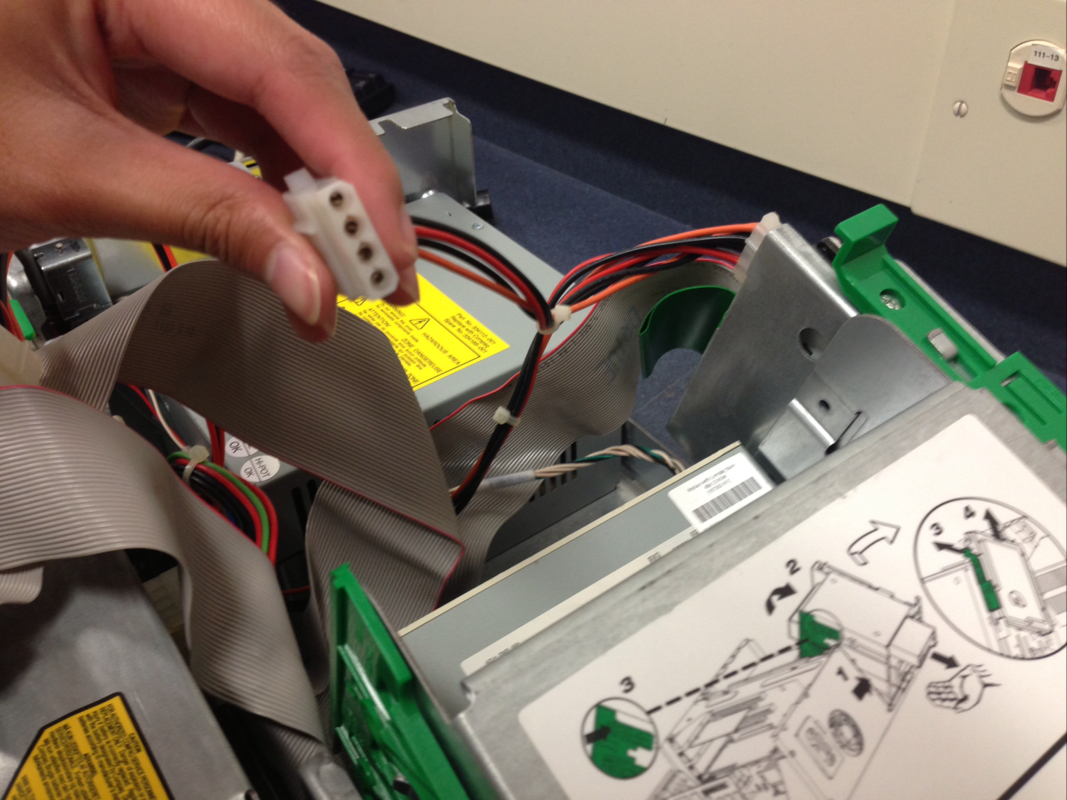
Pull out the power cable for the CD-ROM. And remember the number once more; for us it was P4.
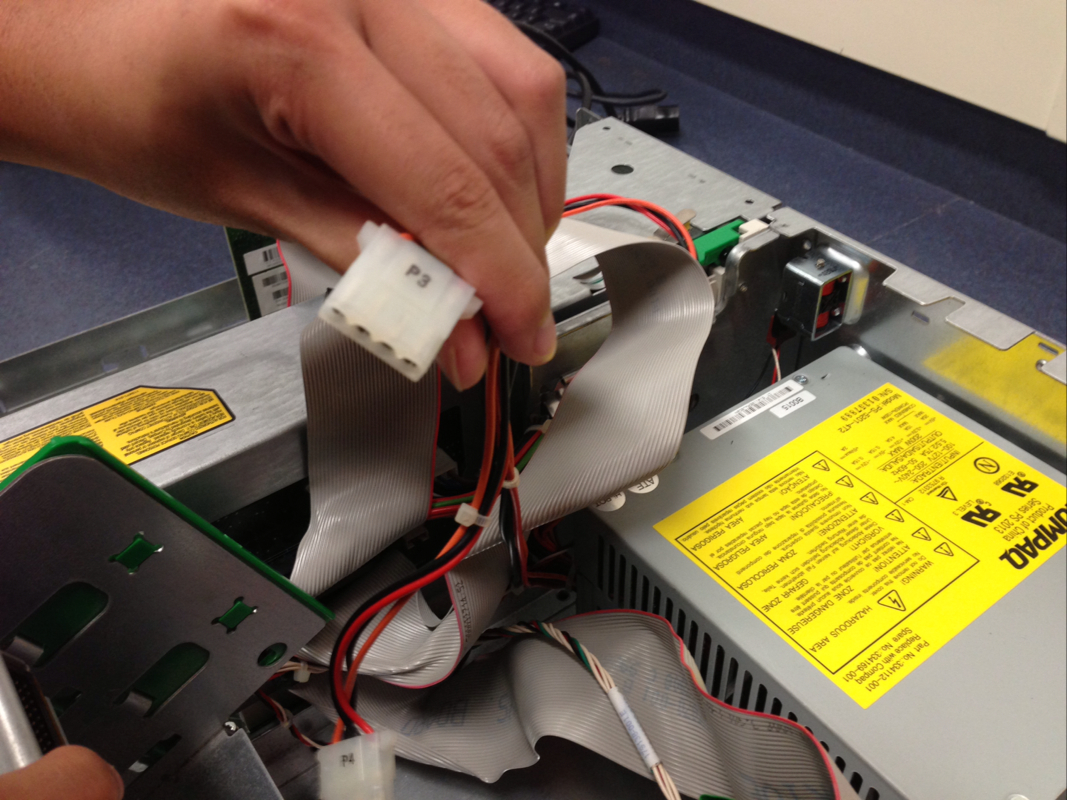
Pull out the power cable for the hard disk. Again, take note of the number. In our case it was P3.
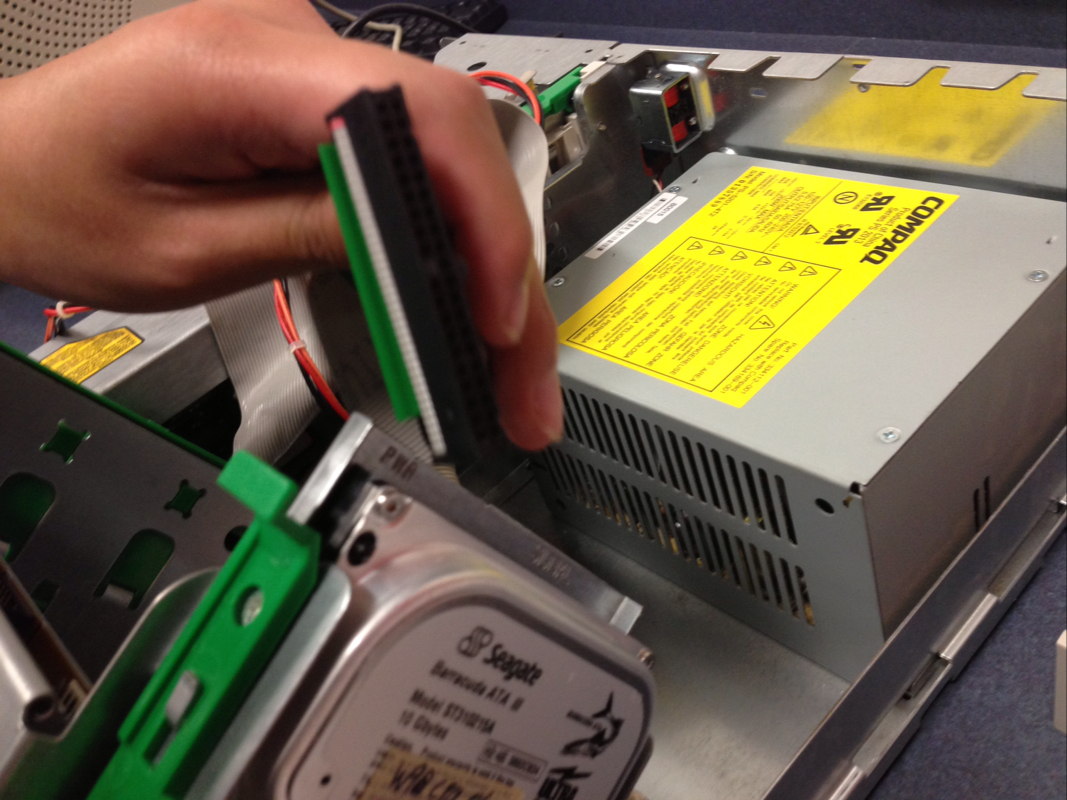
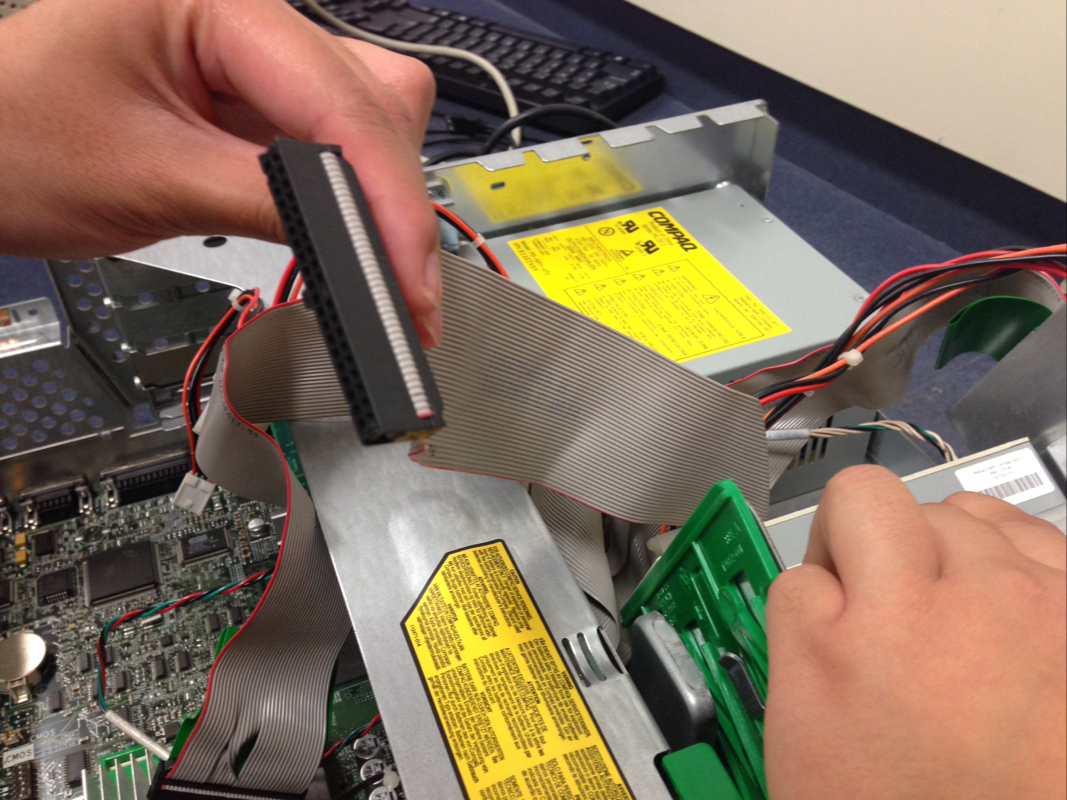
Pull out the IDE cable for the hard disk.
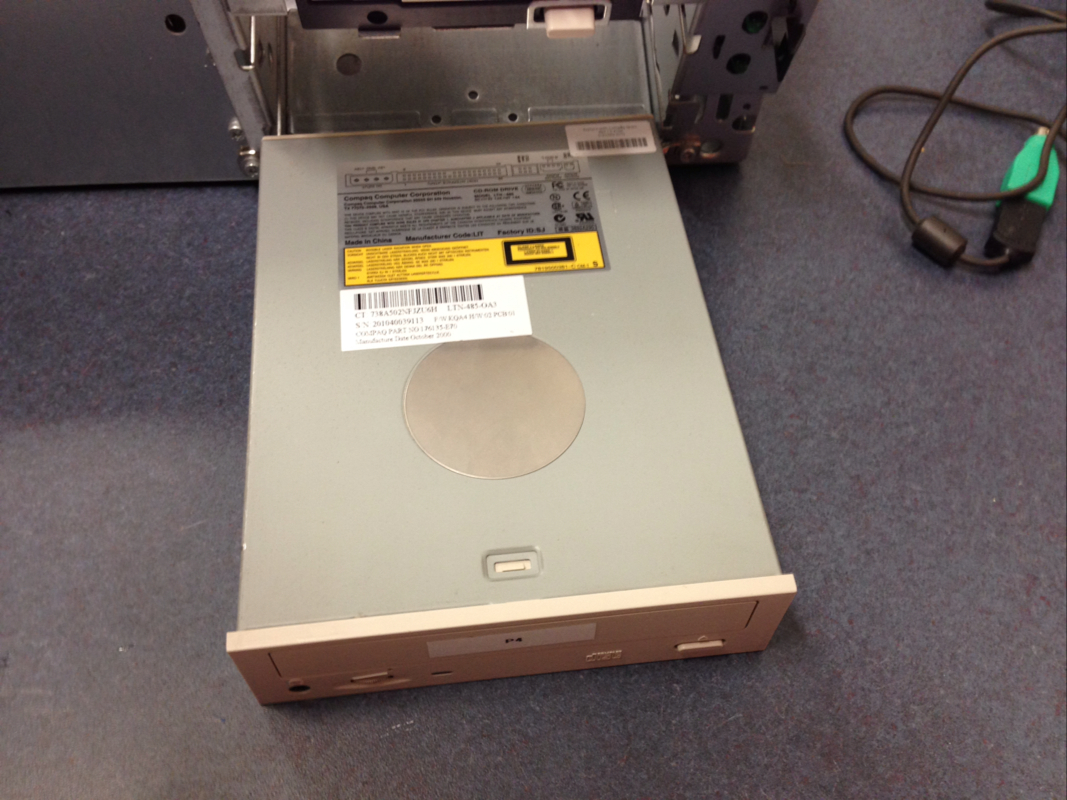
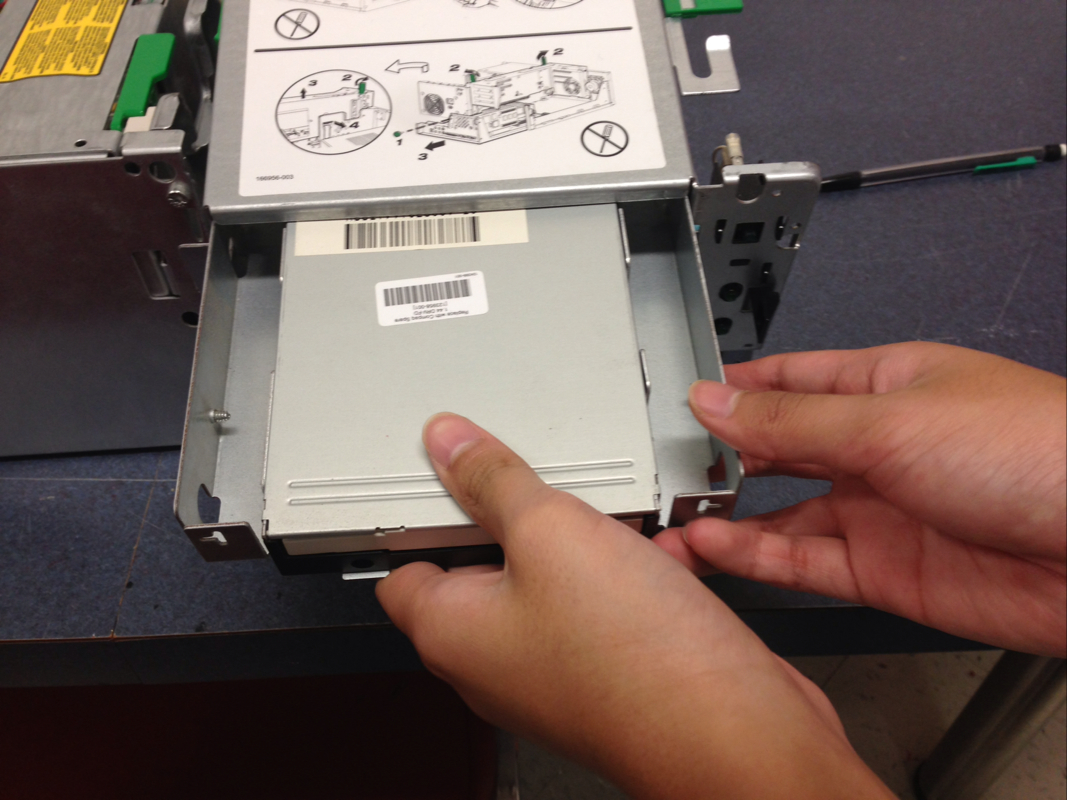
Take out the CD-ROM by pulling the green tab.
Next, take out the floppy disk.

Take out the hard disk by pulling the green tab.
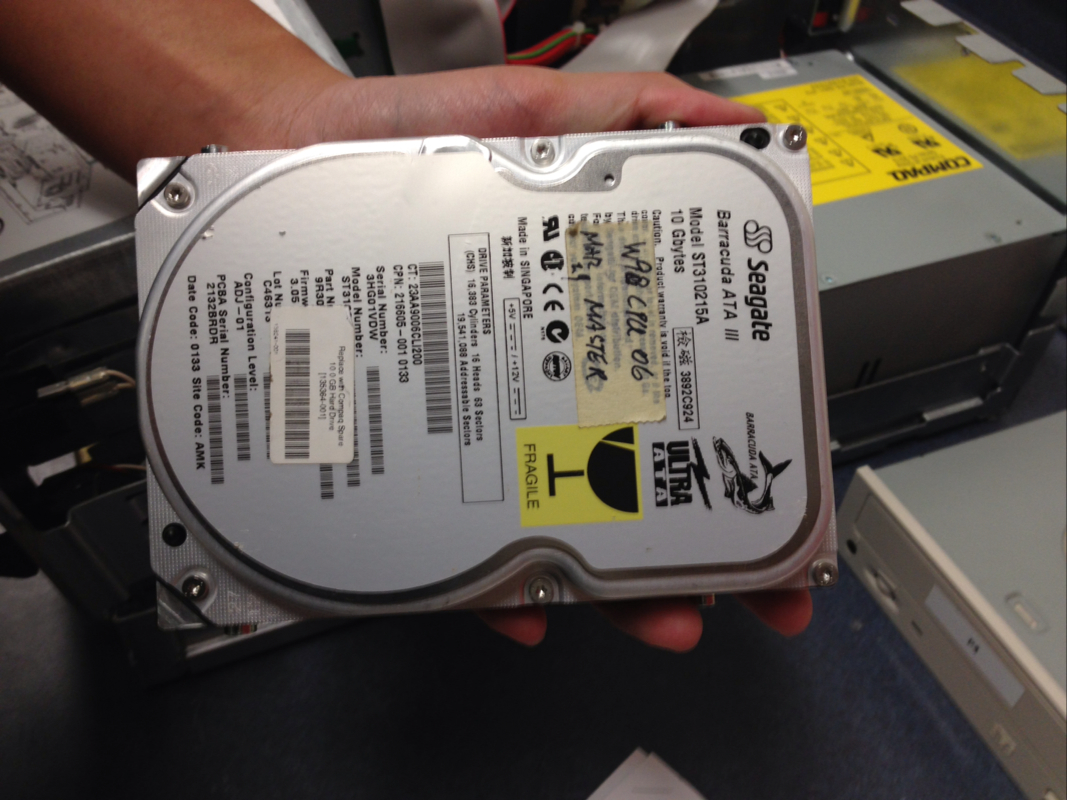
This is what the hard disk looks like; (front view).
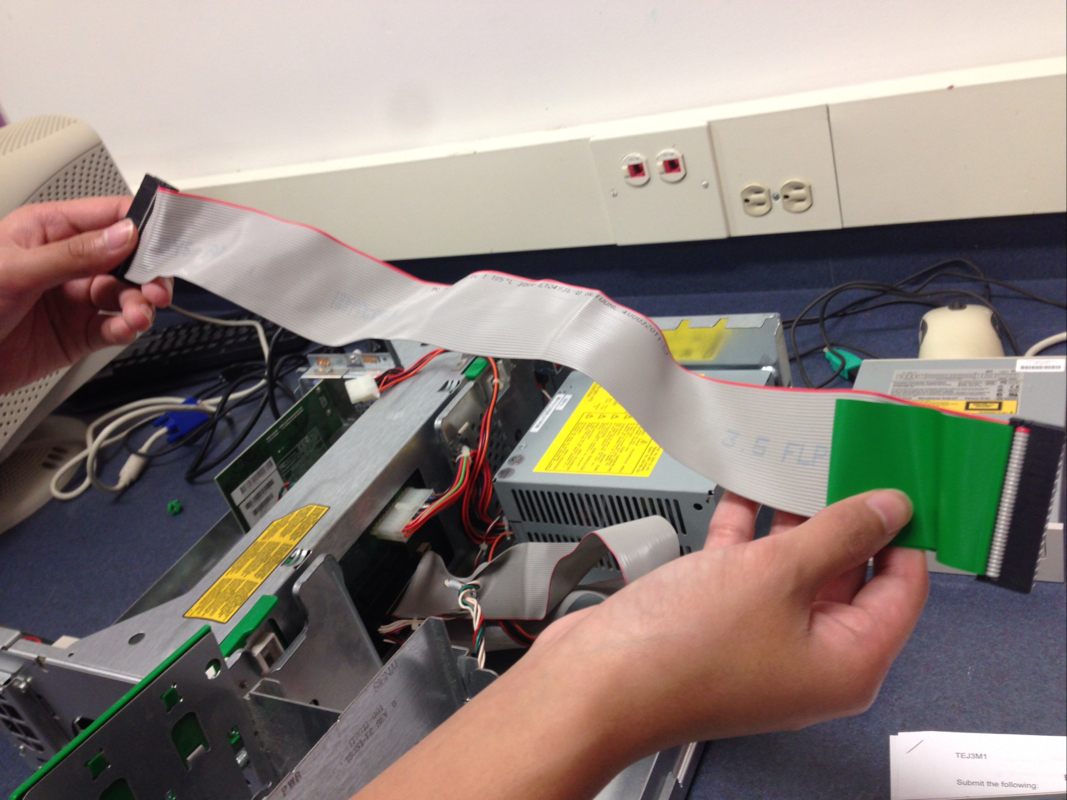
This is the IDE cable for the floppy disk.
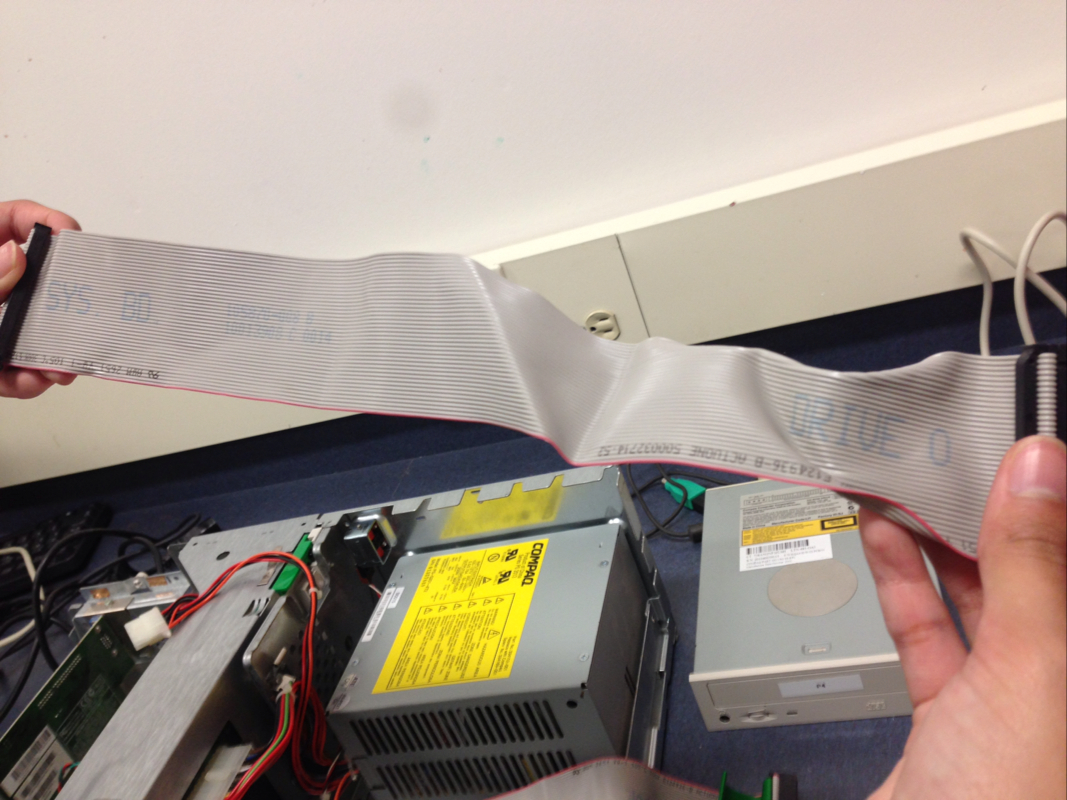
This is the IDE cable for the CD-ROM.
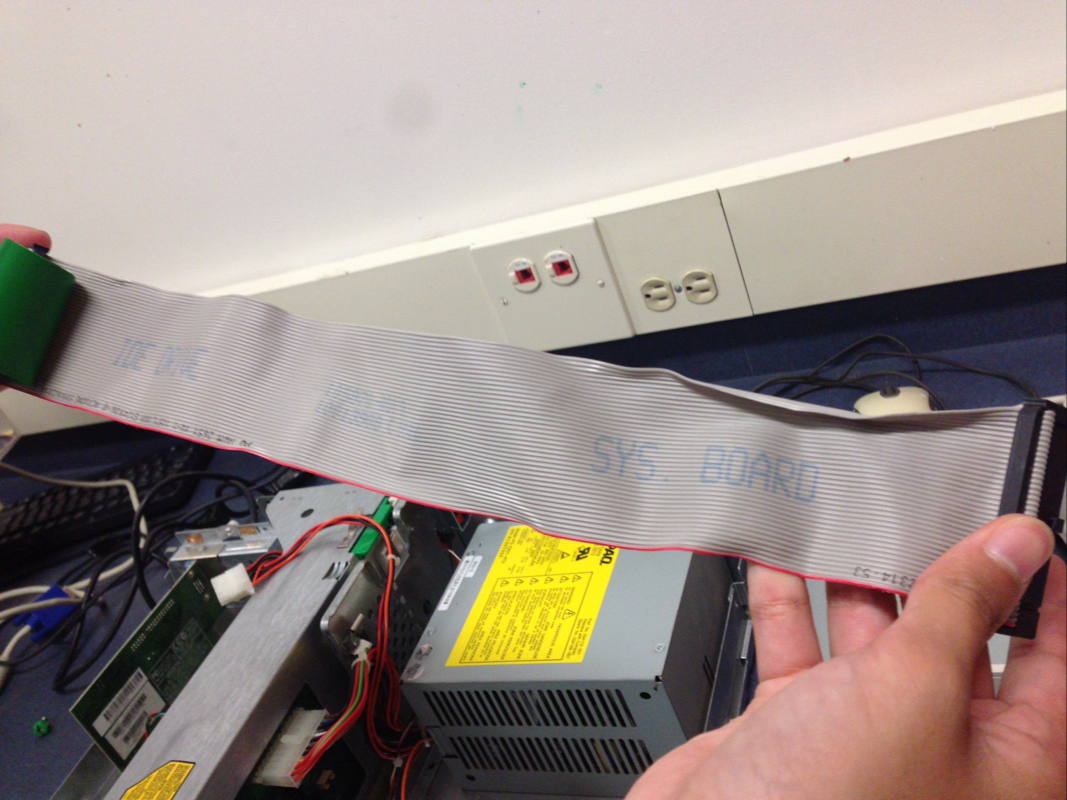
This is the IDE cable for the hard disk.

This is where the RAM and the expansion board can be found beside the motherboard.
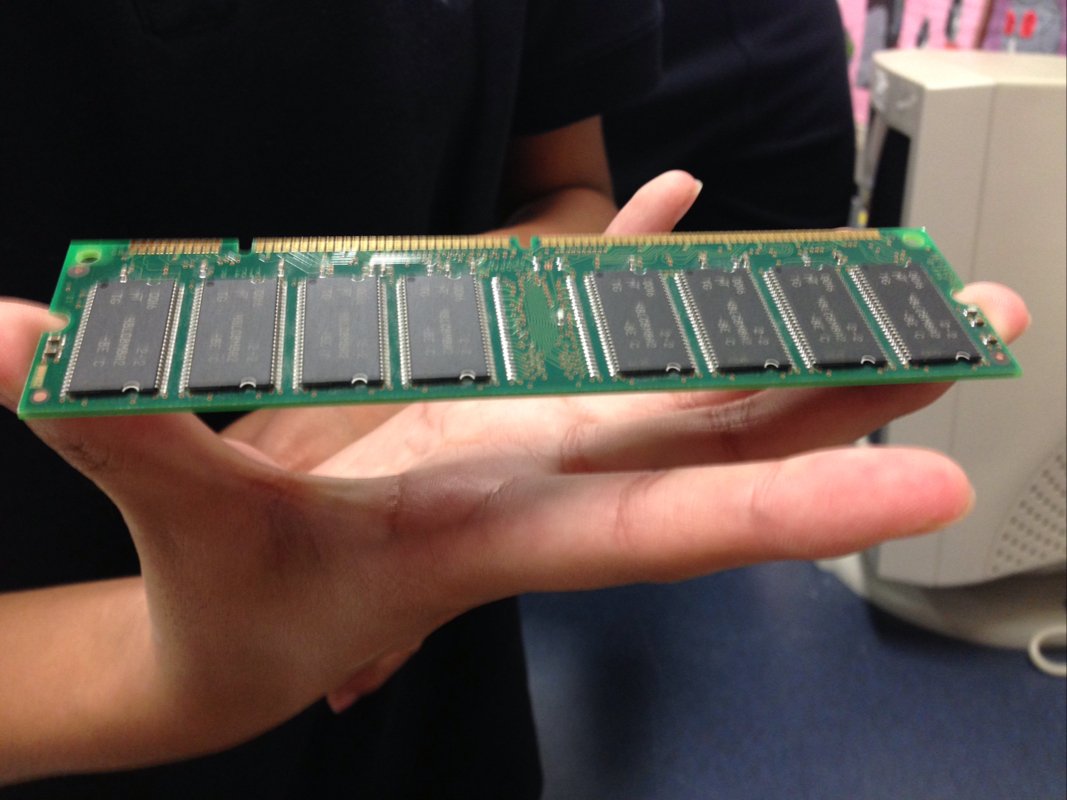
This is a RAM.
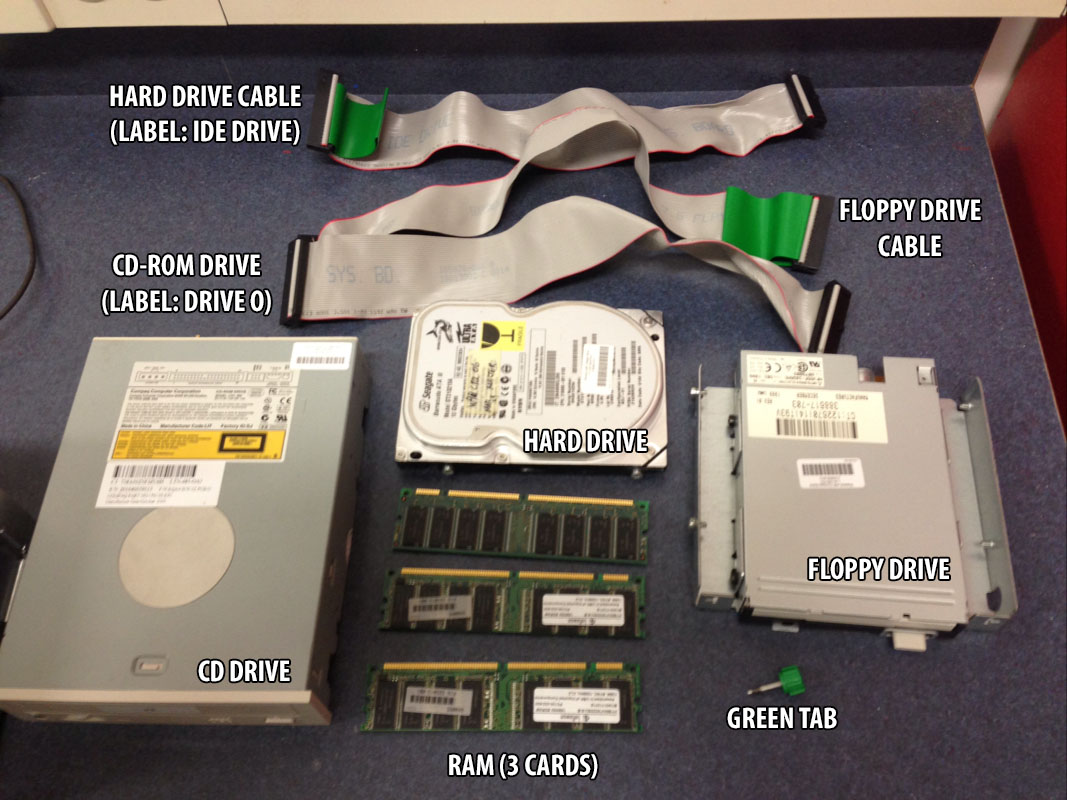
These are the removed components of the computer.
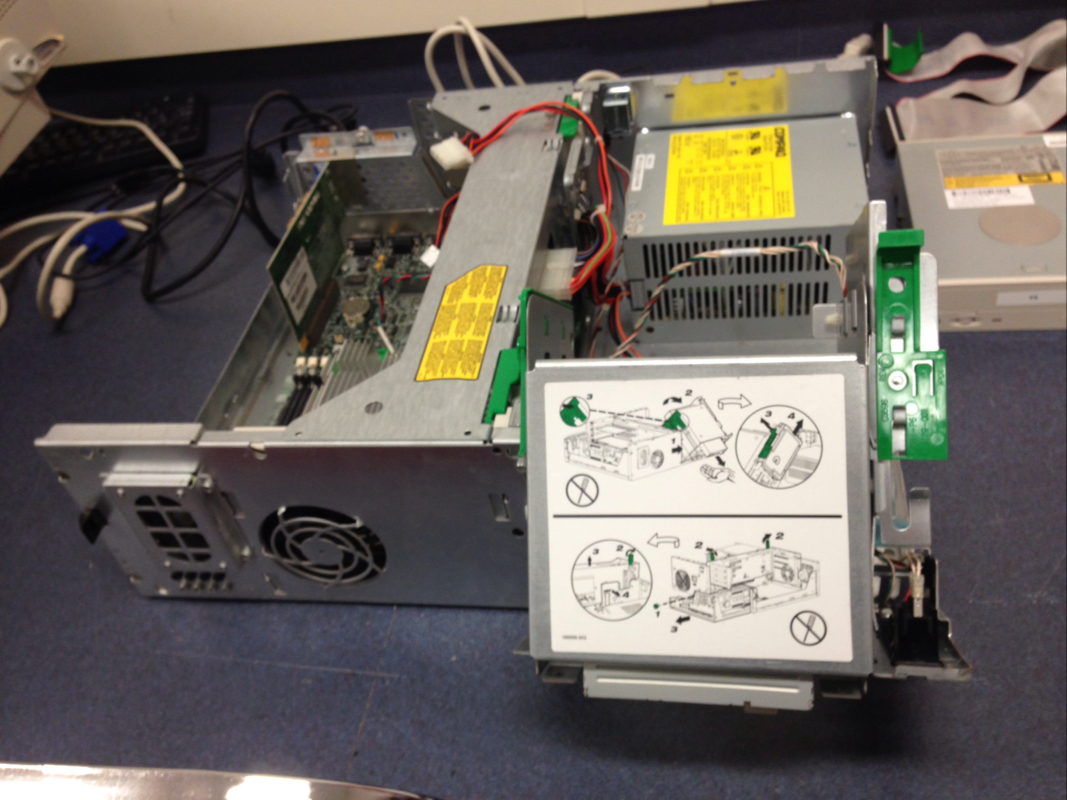
This is what the CPU looks like when the components are removed.
Another view of the empty CPU,
